next主题下载安装
以后自己折腾这些东西都如果真的有兴趣的话建议自己学会查看官方文档,一般里面都有很详细的步骤,以及对一些可能会遇到的问题的解决方案,比起去网上搜的别的人的教程靠谱多了!
安装next主题
官方文档:开始|下一步 (theme-next.js.org)
进去github仓库复制它的ssh地址,下面代码我直接给出来了,不用进网站复制了
next-theme/hexo-theme-next: 🎉 Elegant and powerful theme for Hexo. (github.com)
Open your terminal, change to Hexosite root directoryand clone the latest master branch of NexT theme:
1
2
$ cd hexo-site $ git clone git@github.com:next-theme/hexo-theme-next.git themes/next
next版本更新
Or update to the latest master branch:
1
2
3
$ cd hexo-site $ cd themes/next $ git pull origin master
When runninggit pull, you can bypass merge conflicts (error message like**«Commit your changes or stash them before you can merge»**) by using theCommit,StashorResetcommands for local changes. Seehere how to do it.
next主题配置
按照官方文档说的,为避免后期next主题更新时发生冲突,建议使用备选配置方案:
备选配置方案
我的理解其实就是为了避免theme _config文件被更新下来的新文件覆盖,造成自定义的配置信息丢失。
官方推荐了两种解决方案:
在hexo根目录创建一个_config.next.fml的文件并在其中配置next主题,需要先把next的_config.fml文件复制进来,在进行个性化修改。
直接在hexo的_config.fml文件中进行hexo及next主题的配置。
具体请查看文档Configuration | NexT (them时e-next.js.org)
我这里选择了第一种 两个配置文件分开来还是比较清楚的吧
不过我猜测是要每次更新后手动,把这个配置好的_config.next.fml文件复制到next的_config.fml文件中去。诶 !好像不用!因为我发现默认主题就是这样的_config.landscape.yml。
如果介意这点的话那就使用第二种方案
next主题配置正式开始
官方文档
配置|下一步 (theme-next.js.org)
配置了基础的一部分
明天继续!
问题
hexo头像不显示问题 解决方案参考:
(22条消息) hexo无法显示头像问题_合成大西瓜是怎么火的-CSDN博客_hexo头像显示不出来
之前搭建的hexo博客一直头像不显示问题如何解决 - 知乎 (zhihu.com)
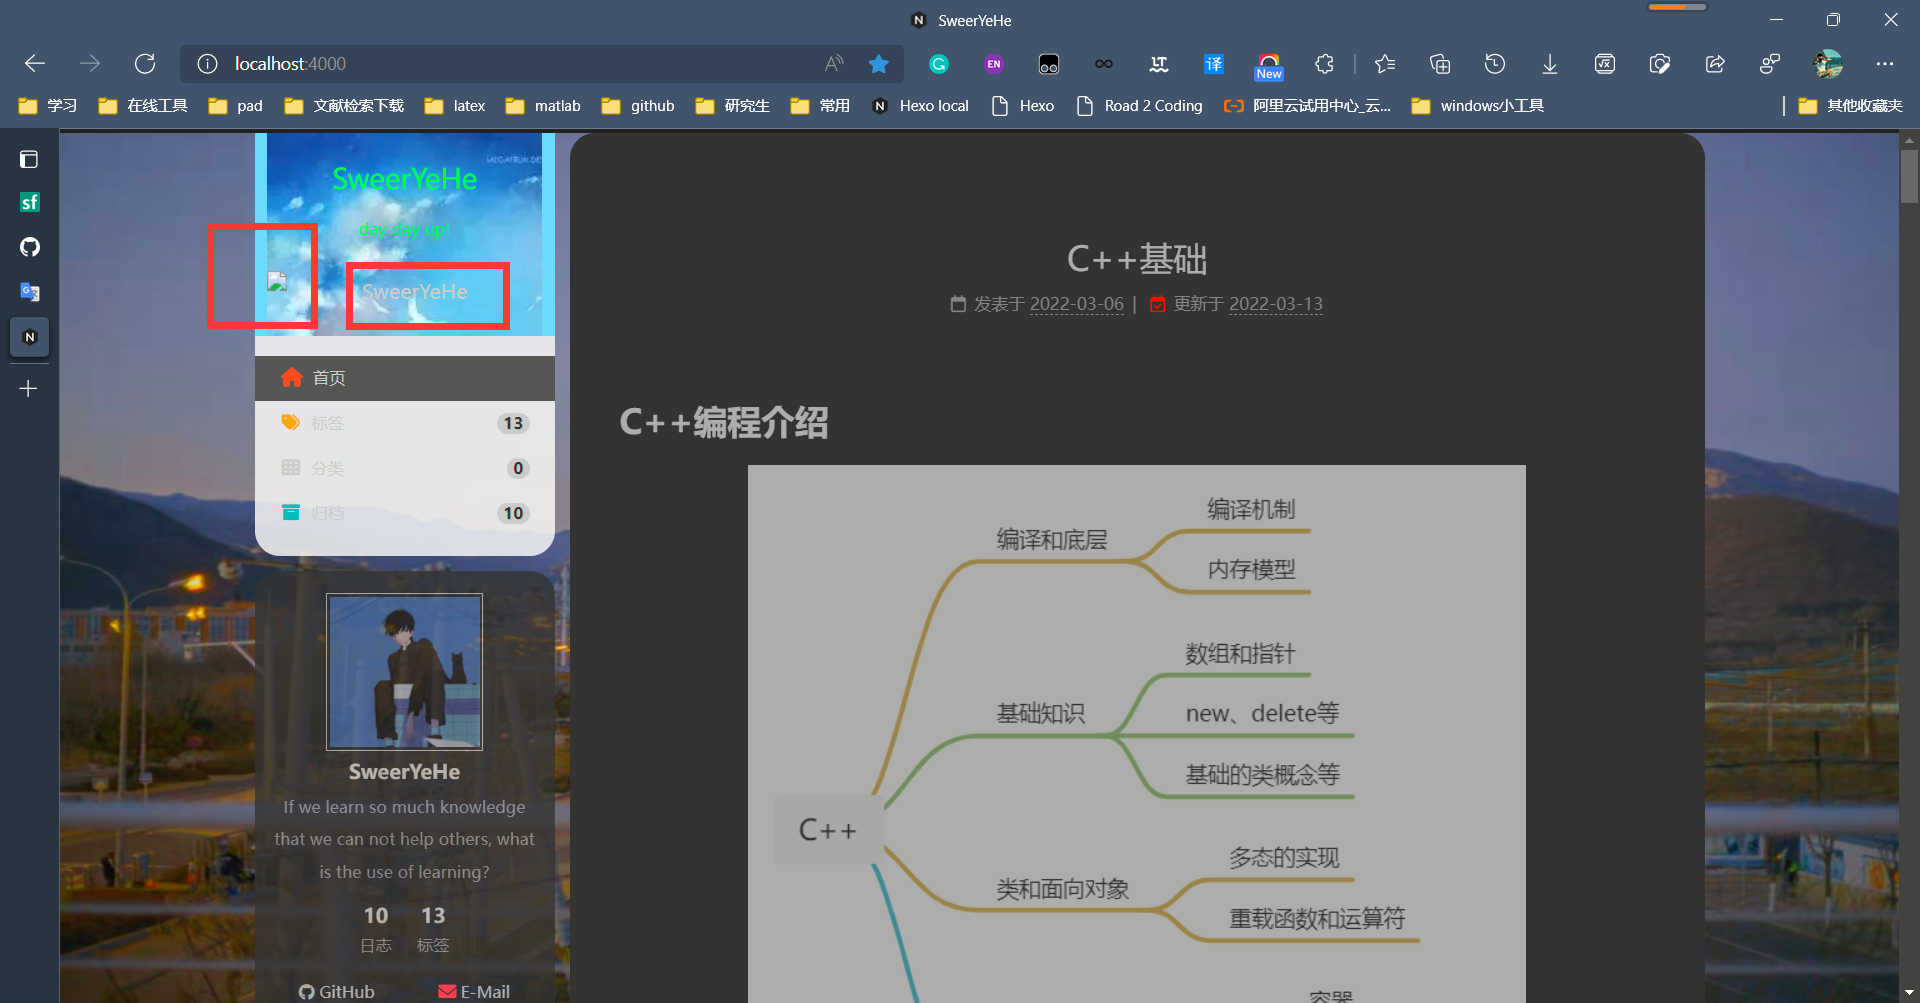
左上角标题旁有一个图片加载不出来的符号
还不知道怎么解决~~
进阶个性化页面设计完整教程 GitHub+Hexo 搭建个人网站详细教程 - 知乎 (zhihu.com)
优秀博客设计
翁天信 · Dandy Weng 的个人网站主页
图标
这个里面找
Font Awesome
安装烟花特效
点击鼠标时显示烟花特效,安装: npm install next-theme/hexo-next-fireworks
添加流程图支持
安装:
1
2
npm i hexo-filter-mermaid-diagrams npm i --save hexo-filter-sequence
在站点设置里添加:
1
2
3
4
mermaid : #流程图 enable : true # Available themes : default | dark | forest | neutral theme : default
全站搜索
参考hexo-generator-searchdb 。
安装:npm install hexo-generator-searchdb 2. 在站点设置里添加以下设置项:
1
2
3
4
5
search : path : search.xml field : post format : html limit : 10000
在主题设置里找到local_search,修改成如下:
1
2
3
4
5
6
7
local_search : enable : true #auto, trigger search by changing input. manual, by pressing enter key or search button. trigger : auto top_n_per_article : -1 # Show top n results per article, show all results by -1 unescape : false preload : false
持久化链接 没成功 点任何文章都跳到第一篇去了
文章默认的链接是http://url/2020/02/10/hello-world这种类型,由年/月/日/标题组成。如果文章里调整过日期,链接名也会变化。而且如果标题是中文或存在特殊符号,链接可能就有问题。因此建议使用永久链接,即使更改了日期也能打开原来的链接。
安装:npm install hexo-abbrlink --save。
在站点配置里修改:
1
2
3
4
permalink : p/:abbrlink.html abbrlink : alg : crc32 # 算法:crc16 (default ) and crc32 rep : hex # 进制:dec (default ) and hex
隐藏网页底部powered By Hexo / 强力驱动
打开themes/next/layout/_partials/footer.njk,直接删除图示/**删掉部分。位置如图:
1
2
3
4
5
6
7
8
9
10
11
12
13
14
15
16
17
18
19
20
21
22
23
24
25
26
27
28
29
30
31
{%- if theme.busuanzi_count.total_views %} <span class="post-meta-item" id="busuanzi_container_site_pv"> <span class="post-meta-item-icon"> <i class="{{ theme.busuanzi_count.total_views_icon }}"></i> </span> <span class="site-pv" title="{{ __('footer.total_views') }}"> <span id="busuanzi_value_site_pv"></span> </span> </span> {%- endif %} </div> {%- endif %} /**删掉 {%- if theme.footer.powered %} <div class="powered-by"> {%- set next_site = 'https://theme-next.js.org' if theme.scheme === 'Gemini' else 'https://theme-next.js.org/' + theme.scheme | lower + '/' %} {{- __('footer.powered', next_url('https://hexo.io', 'Hexo') + ' & ' + next_url(next_site, 'NexT.' + theme.scheme)) }} </div> {%- endif %} **/ {%- if theme.add_this_id %} <div class="addthis_inline_share_toolbox"> <script src="//s7.addthis.com/js/300/addthis_widget.js#pubid={{ theme.add_this_id }}" async="async"></script> </div> {%- endif %} {{- next_inject('footer') }}
打赏~
1
2
3
4
5
6
7
8
9
10
11
12
13
reward_settings: # If true, a donate button will be displayed in every article by default. enable: true animation: false comment: Buy me a coffee reward: wechatpay: https://raw.githubusercontent.com/SweerYeHe/PicBed_PicGo/main/img/202203212035541.png #图片地址 alipay: https://raw.githubusercontent.com/SweerYeHe/PicBed_PicGo/main/img/202203212035203.png #图片地址 #wechatpay: /images/wechatpay.png #alipay: /images/alipay.png #paypal: /images/paypal.png #bitcoin: /images/bitcoin.png
修改主题背景图&菜单题头颜色&透明度
在`E:\HOLDER\blog\source_data创建一个styles.styl文件,添加如下内容
1
2
3
4
5
6
7
8
9
10
11
12
13
14
15
16
17
18
19
20
21
22
23
24
25
26
27
28
29
30
31
32
33
34
35
36
37
38
39
40
41
42
43
44
45
46
47
48
49
50
51
52
53
54
55
56
57
58
59
60
61
62
63
64
65
66
67
68
69
70
71
72
73
74
75
76
77
78
79
80
81
82
83
84
85
86
87
88
89
90
91
92
93
94
95
96
97
98
99
100
101
102
103
104
105
106
107
108
109
110
111
112
113
114
115
116
117
118
119
120
121
122
123
124
125
126
127
128
129
130
131
body { background-image: url(https://raw.githubusercontent.com/SweerYeHe/PicBed_PicGo/main/img/20220315223840.png); background-attachment: fixed; background-size: 100% 100%; background-repeat: repeat; } //改掉题头颜色 .site-meta { background:url(https://raw.githubusercontent.com/SweerYeHe/PicBed_PicGo/main/img/202203212028337.png) } //主标题颜色 .brand{ color: #f5f5f5 } //副标题颜色 .site-subtitle{ color: #f5f5f5 } //文章内部背景色,不填就是默认色 修改不透明度 .main-inner { //background: #fff; opacity: 0.8; } //文章透明度设置 .post-block { opacity: 0.9; } //侧边框的透明度设置 .sidebar { background: transparent; opacity: 0.9; } //菜单栏的透明度设置 .header-inner { background: rgba(51,51,51,0.9); } //搜索框(local-search)的透明度设置 .popup { opacity: 0.9; } // 图标颜色大小 .fa{ font-size: 14px; } // 菜单栏 .fa-home{ color: #e74c3c; font-size: 15px; } .fa-archive{ color: #1abc9c; } .fa-tags{ color: orange; } .fa-chalkboard{ color: #3498db; } .fa-link{ color: #FC427B; } .fa-user{ color: #9b59b6; } .fa-camera{ color: #1abc9c; } .fa-envelope{ color: #FC427B; } .fa-zhihu{ color: blue; } // 文章 .fa-calendar-check{ color: red; } .fa-eye{ color: #70a1ff; } .fa-comment{ color: #2ed573; } .fa-comments{ color: #2ed573; } .fa-file-word{ color: #273c75; } .fa-clock{ color: #ff5252; } .fa-image{ color: #FC427B; } .fa-sun{ color: orange; } .fa-bookmark{ color: #00FFFF; } .fa-book{ color: #1abc9c; } .fa-images{ color: #FF00FF; } .fa-windows{ color: #e74c3c; } .fa-chrome{ color: orange; } .fa-desktop{ color: #3498db; } .fa-tools{ color: #00FFFF; } .fa-python{ color: #3498db; }
~~尚未亲测
页面底部主题信息删除
打开themes中的next文件夹,找到_config.yml文件,修改footer下面的配置为false即可。
1
2
3
4
5
6
7
8
9
10
copyright: # ------------------------------------------------------------- # Hexo link (Powered by Hexo). powered: false theme: # Theme & scheme info link (Theme - NexT.scheme). enable: false # Version info of NexT after scheme info (vX.X.X). version: false
页面顶部黑色线条删除
打开themes中的next文件夹,找到/source/css/_common/components/header/headerband.styl文件,删除background样式即可。
1
2
3
4
.headband { height: $headband-height; background: $headband-bg; }
静态资源压缩
可以通过安装hexo-all-minifier来进行静态资源压缩,减少网络请求时候的数据包,加快网站响应速度。可以对html、css、js、images进行压缩,即把重复的代码合并,把多余的空格去掉,用算法对images进行压缩。npm install hexo-all-minifier --save
1
2
3
4
5
6
7
8
9
10
11
12
13
14
15
16
17
18
19
20
21
22
23
24
25
html_minifier: enable: true ignore_error: false exclude: css_minifier: enable: true exclude: - '*.min.css' js_minifier: enable: true mangle: true output: compress: exclude: - '*.min.js' image_minifier: enable: true interlaced: false multipass: false optimizationLevel: 2 pngquant: false progressive: false
…